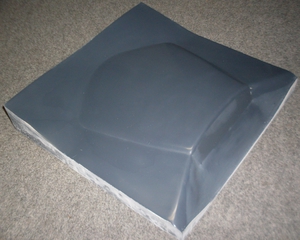
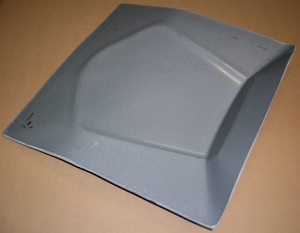
Fabricating the Version 1 RailGun seats and tailboxes has been a great experience. We really enjoy hearing how these seats have made riding so much better and more fun for our riders, yet fabricating them (especially the tailboxes) was very, very labor intensive. When I started, I had no idea they would be so popular so I wasn't concerned about fabrication expenses, etc. I just wanted to get a decent seat available for me and a few friends. As time went on, the original and inexpensive low-volume molds took on more and more damage (normal) requiring more time spent repairing them than was justified.
I have been working with a small group of friends on a full concept carbon fiber ultra/speed bike for several years which was to be designed around a new version of the RailGun seat. Thom Ollinger and I came up with the original concept and Charlie Ollinger started working on engineering that into a real bike. I had decided that this time, instead of making the mold masters by hand, we would machine them out of machinable high density urethane board. I decided to use Precision Board.
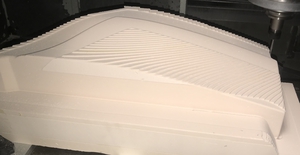
Earlier this year (2017), Charlie, Sandor Kormos (our CAM machinist) and I worked out the details for how to fabricate the Version 2 RailGun seat. Charlie sent the CAD files for the master and Sandor started working on selecting the custom tools needed and developing the code to cut the masters. We had originally planned on using a 3-axis CNC router but the master was a little too tall to fit under the cutting head so I had to cut the original foam base in half so Sandor could fit it in a smaller CNC mill. I then had to put the two halves back together after they were machined.
 |
 |
Machining photos of the side of the tailbox and one of the water bottle holder mold sleeves (that will accept the removable holder mold).
 |
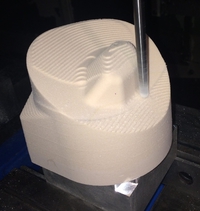 |
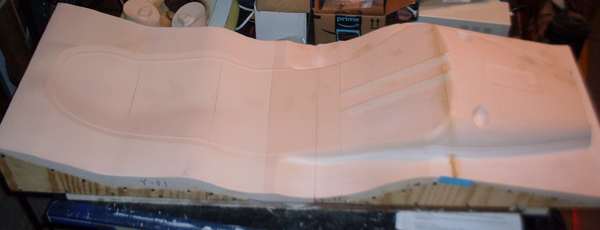
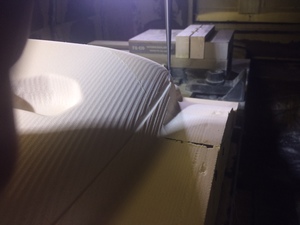
Then started the long process of priming, filling and sanding/smoothing the machined parts in preparation for building molds from them. The photo below includes the bolted-on bottle holder master sleeves which required threaded inserts to be embedded in the machined foam master. These sleeves will allow the bottle holder molds to be slid in from the underside of the seat mold which will be pulled from this master.
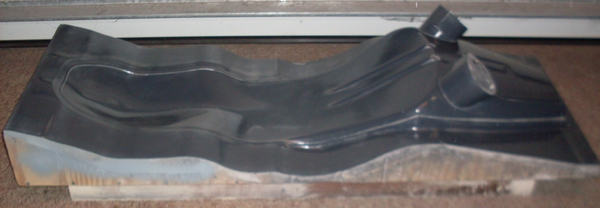
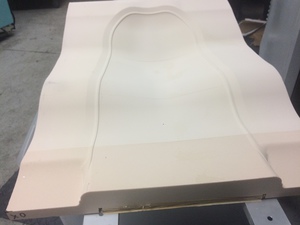
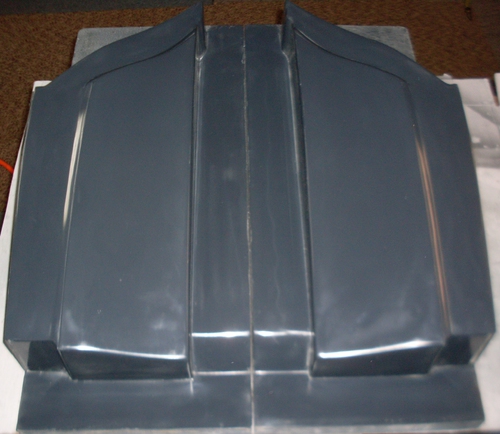
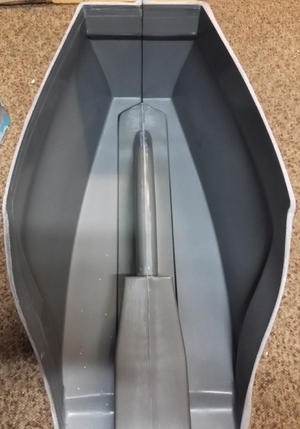
The (very hard) finished fiberglass-backed, aluminum oxide mold in front, pulled from the prepped master behind. This new mold process is designed to handle up to 400F oven curing temperatures (for prepreg).
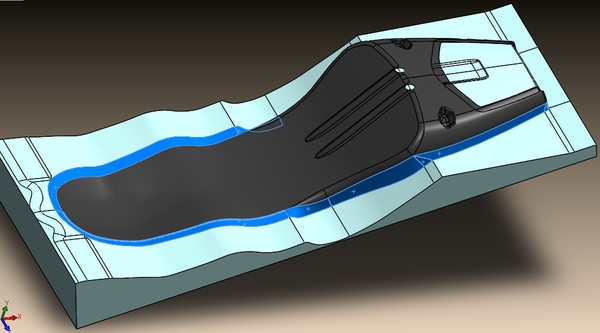
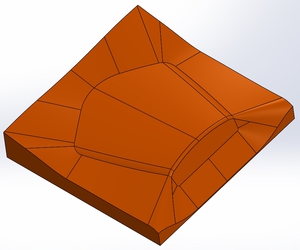
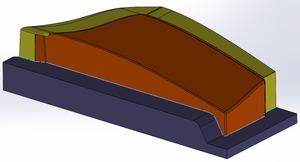
Lid tool diagram vs. machined, primed master, then finished mold:
 |
 |
 |
 |
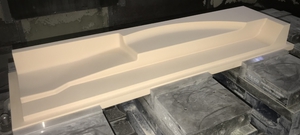
Tailbox half tool diagram vs. machined, then primed masters and finished molds:
 |
 |
 |
 |
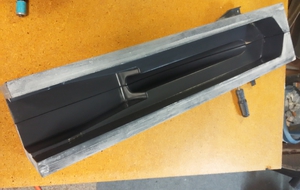
Tailbox wheel well tool diagram, machined master tool half, primed masters clamped together and wheel well mold pulled from the two masters:
 |
 |
 |
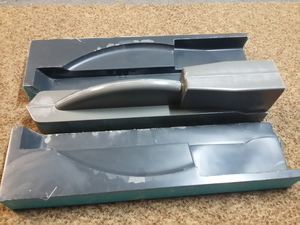 |
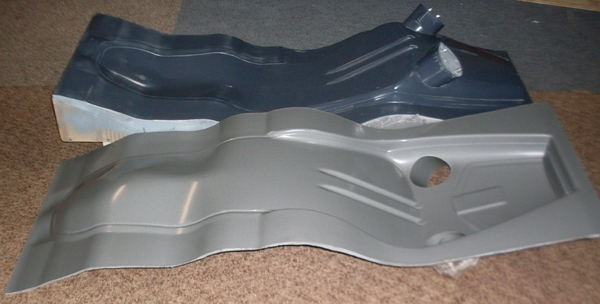
Tailbox plus wheel well molds clamped together:
Home | RailGun Performance Seat | RailGun FAQ | RailGun Howto | Contact |
Oct 8, 2018